Download and Configure Perl Scripts
Create a folder to hold the perl scripts, download the scripts from MOS doc ID 2471245.1, and unzip:
[oracle@source]$ mkdir /home/oracle/xtts
[oracle@source]$ cd /home/oracle/xtts
[oracle@source]$ --Download file from MOS
[oracle@source]$ unzip rman_xttconvert_VER4.3.zip
Create a working directory (aka. scratch location) which will hold the backups.
Note:- Ensure that you have enough space at this location at both source and target database.
[oracle@source]$ mkdir -p /u01/app/oracle/scratch
Create the same location on the target host:
[oracle@target]$ mkdir -p /u01/app/oracle/scratch
Configure your migration in xtt.properties. In this demo the file looks like this:
[oracle@source]$ cd /home/oracle/xtts --under this directorytablespaces=USERSplatformid=13 src_scratch_location=/u01/app/oracle/scratch dest_scratch_location=/u01/app/oracle/scratch dest_datafile_location=+DATA asm_home=/u01/app/19.0.0.0/grid asm_sid=+ASM1 parallel=4 rollparallel=4 getfileparallel=4 metatransfer=1 dest_user=oracle dest_host=<target_ip> desttmpdir=/u01/app/oracle/scratch srcconnstr=sys/<password>@users destconnstr=sys/<password>@newusers usermantransport=1
A little explanation:
platformidis set to 13 because this is a Linux migration. You can get the number by queryingv$transportable_platform.- Adjust the parallel options according to the capabilities of the source and target system.
- When you are using ASM disk group in
dest_datafile_locationyou must also setasm_homeandasm_sid.
Where
tablespaces – Mention the tablespaces need to be migrated.
platformid ( we can get the value by using select platform_id from v$database;)
backupformat – Location on source where where full backup and incrmental rman backup will be stored.
stageondest – Location on TARGET ,where the rman and dumpfiles will be copied
storageondest– Location on TARGET, where datafiles will be created for the tablespaces
INITIAL PHASE:
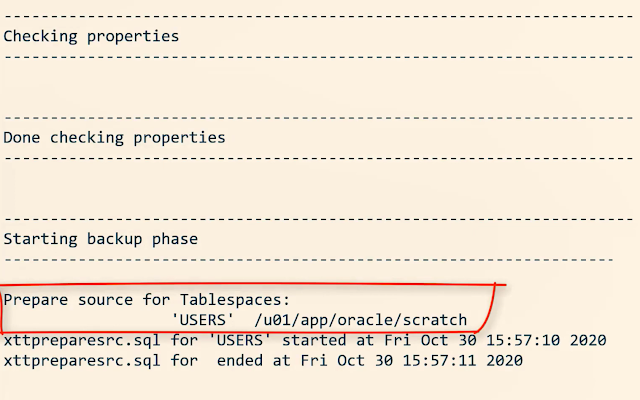
1. Take FULL RMAN backup of the source database.(use below script)
Now, you can start the first initial backup of the database.
You take it while the source database is up and running, so it doesn’t matter if the backup/restore cycle take hours or days to complete:
[oracle@source]$ exportTMPDIR=/home/oracle/xtts[oracle@source]$ cd /home/oracle/xtts [oracle@source]$ $ORACLE_HOME/perl/bin/perl xttdriver.pl --backup
[oracle@source]$ scp res.txt oracle@<target_ip>:/home/oracle/xttsNow, on the target system, you can restore the backup that was just taken. If needed, the data files are automatically converted to the proper endian format. If conversion is needed, you need space for a copy of all the data files:
[oracle@target]$ export TMPDIR=/home/oracle/xtts
[oracle@target]$ cd /home/oracle/xtts
[oracle@target]$ $ORACLE_HOME/perl/bin/perl xttdriver.pl --restoreROLLING FORWARD PHASE:
In this phase, we will apply the incremental backups from source to target in multiple iterations, to keep minimal lag, so that during downtime, for final incremental ,it will take less time.
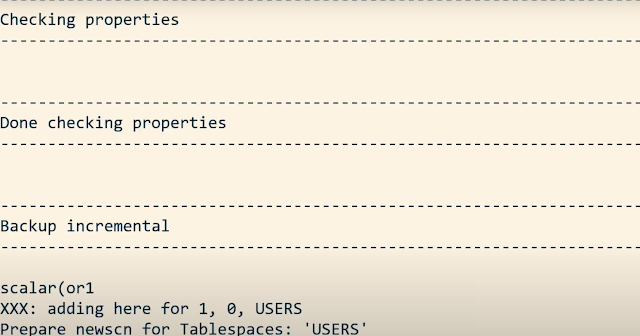
1. Take incremental on source:
Incremental Backup and Restore
You can – and should – run the incremental backup and restores as many times as possible. The more frequent you run them, the faster they will run because there will be fewer changes. At least, close to the migration downtime window starts you should run them often, to minimize the time it will take to perform the final backup and restore:
[oracle@source]$ export TMPDIR=/home/oracle/xtts
[oracle@source]$ cd /home/oracle/xtts
[oracle@source]$ $ORACLE_HOME/perl/bin/perl xttdriver.pl --backupTransfer res.txt:
[oracle@source]$ scp res.txt oracle@<target_ip>:/home/oracle/xttsAnd restore on the target system:
[oracle@target]$ export TMPDIR=/home/oracle/xtts
[oracle@target]$ cd /home/oracle/xtts
[oracle@target]$ $ORACLE_HOME/perl/bin/perl xttdriver.pl --restoreGather dictionary statistics to ensure the Data Pump export runs as fast as possible:
SOURCE/USERS SQL> exec dbms_stats.gather_dictionary_stats;
Now downtime starts! Set the tablespaces read-only:
SOURCE/USERS SQL> alter tablespaceUSERS read only;
Perform the final incremental backup:
[oracle@source]$ export TMPDIR=/home/oracle/xtts
[oracle@source]$ cd /home/oracle/xtts
[oracle@source]$ $ORACLE_HOME/perl/bin/perl xttdriver.pl --backupTransfer res.txt:
[oracle@source]$ scp res.txt oracle@<target_ip>:/home/oracle/xttsAnd restore on the target system:
[oracle@target]$ export TMPDIR=/home/oracle/xtts
[oracle@target]$ cd /home/oracle/xtts
[oracle@target]$ $ORACLE_HOME/perl/bin/perl xttdriver.pl --restoreImport Metadata Using FTEX
Create a directory object that points to the xtts folder:
TARGET/SALES SQL> create directory LOGDIR as '/home/oracle/xtts';Create a directory object that points to the xtts folder:
TARGET/SALES SQL> create directory LOGDIR as '/home/oracle/xtts';
Next, create a database link to the source database that can be used to import the metadata. If the source database is already a PDB, ensure that the database link points directly into the PDB:
TARGET/SALES SQL> create public database link SRCLNK connect to system identified by <password> using '//<source_ip>:1521/<service_name>';
Test that it works:
TARGET/SALES SQL> select * from dual@srclnk;
Next, create a par file (sales_imp.par) that you can use for the Data Pump import (see appendix below for explanation):
network_link=SRCLNK
full=y
transportable=always
metrics=y
logtime=all
exclude=TABLE_STATISTICS,INDEX_STATISTICS
exclude=SYS_USER
exclude=TABLESPACE:"IN('TEMP')"
exclude=SCHEMA:"IN('SPATIAL_CSW_ADMIN_USR','SPATIAL_WFS_ADMIN_USR')"
directory=logdir
logfile=sales_imp.log
transport_datafiles='+DATA/CDB1_FRA2VD/B2D617FCB79B0684E053AF01000A6DCE/DATAFILE/SALES.281.105552609'
Start Data Pump and perform the import. newsales is a TNS alias that points into the SALES PDB in the target CDB. If you have encrypted tablespaces, you should use the option encryption_pwd_prompt. It allows you to input the TDE password. It can be omitted if there are no encrypted tablespaces.
$ impdp system@newsales parfile=sales_imp.par encryption_pwd_prompt=yes
Once the import has completed, you should examine the Data Pump log file for any critical errors. Check the appendix (see below) for ignorable errors:
[oracle@target]$ vi /home/oracle/xtts/sales_imp.log
That’s it! Your data has been migrated. Now would be a good time to:
Check data files for corruption using RMAN
VALIDATEcommandAlthough not mandatory, it is recommended if time allows. It is a read-only check that you can run while other stuff is happening in the database. See step 6.1 in MOS doc ID 2471245.1.
Gather dictionary statistics
Test your application
Start a backup
Gather statistics – they were excluded from the export
Drop the database link that points to the source database
Cleanup the file system:
- /home/oracle/xtts
- /u01/app/oracle/xtts_scratch


No comments:
Post a Comment